
Nail art is like a blank canvas, waiting for your unique touch to bring it to life. And if you’re looking for a way to add a touch of glamour, nail foils might just be your new best friend! Just like a sprinkle of glitter can transform a simple cake into a masterpiece, foils can elevate your nail designs to new heights. Whether you’re going for a subtle shimmer or a bold statement, using foils is easier than you might think.
Essential Tools and Materials
Types of Foils
Before you get started, it’s important to choose the right foils for your design. You can find a variety of foils at craft or beauty supply stores, so take a moment to browse and pick out colors and patterns that speak to you. Whether you’re drawn to metallic gold or a holographic design that shifts colors in the light, your choice of foil will set the tone for your nail art.
Adhesive Options
To use nail foils, you’ll need an adhesive to help them stick to your nails. There are several options available, including foil glue, which is specially designed for this purpose, and gel top coats that can also work well. Make sure to read the instructions for your chosen adhesive to ensure you’re using it correctly for the best results.
Application Tools
You’ll need a few basic tools to apply your foils effectively. Tweezers are great for picking up and placing the foils precisely where you want them. A small brush can help you smooth the foil onto your nail, ensuring it adheres well. You may also want a small dish to hold the foils while you work, making it easier to grab them as needed.
Nail Prep Tools
Preparation is key when it comes to achieving a flawless nail art look. Be sure to have buffers, files, and cuticle pushers on hand to get your nails in the best shape before applying foils. A smooth surface will ensure that the foils adhere properly and look their best.
Step-by-Step Guide to Using Foils in Nail Art
Nail Preparation
Before you even think about applying foils, it’s crucial to prepare your nails. Start by cleaning your nails thoroughly, removing any old polish or residue. Next, gently buff the surface of each nail to create a smooth base. Think of this step like prepping a canvas before painting—if it’s not clean and smooth, the final result won’t be as beautiful.
Choosing the Right Foil
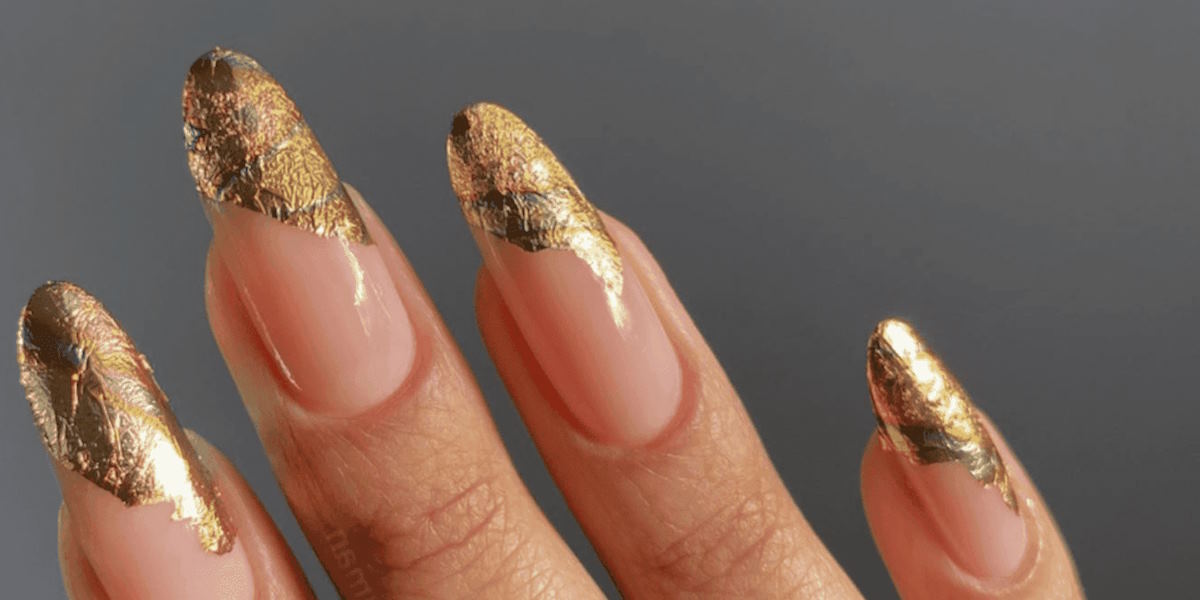
With so many options available, choosing the right foil can feel overwhelming. Think about the overall look you want to achieve. Do you want a classic look with gold foils, or are you feeling adventurous with a bold, colorful design? Picking the right foil will not only reflect your personality but also enhance your nail art.
Applying Adhesive
Once your nails are prepped, it’s time to apply the adhesive. Use a thin layer of foil glue or your chosen adhesive on the area of your nail where you want the foil to stick. Make sure to let the adhesive dry until it becomes tacky, similar to the feeling of sticky tape. This step is crucial because if the adhesive is too wet, the foil won’t adhere properly.
Foil Application Techniques
Now comes the fun part! Using tweezers, gently pick up a piece of foil and place it onto the tacky adhesive on your nail. You might want to press down lightly with your finger or a small brush to ensure it adheres well. If you’re using multiple colors or patterns, feel free to mix and match for a creative look. Just remember that patience is key here. Rushing the process can lead to wrinkles or uneven application, which might affect your final design.
Sealing the Design
After applying the foils, it’s time to seal the deal. Apply a top coat over your design to protect the foils and give your nails a glossy finish. This step is like putting a protective cover on a beautiful piece of art—it keeps everything safe while enhancing the overall look. Be sure to use a gentle touch when applying the top coat, so you don’t lift any foils in the process.
Tips for Achieving the Best Results
Experimenting with Patterns
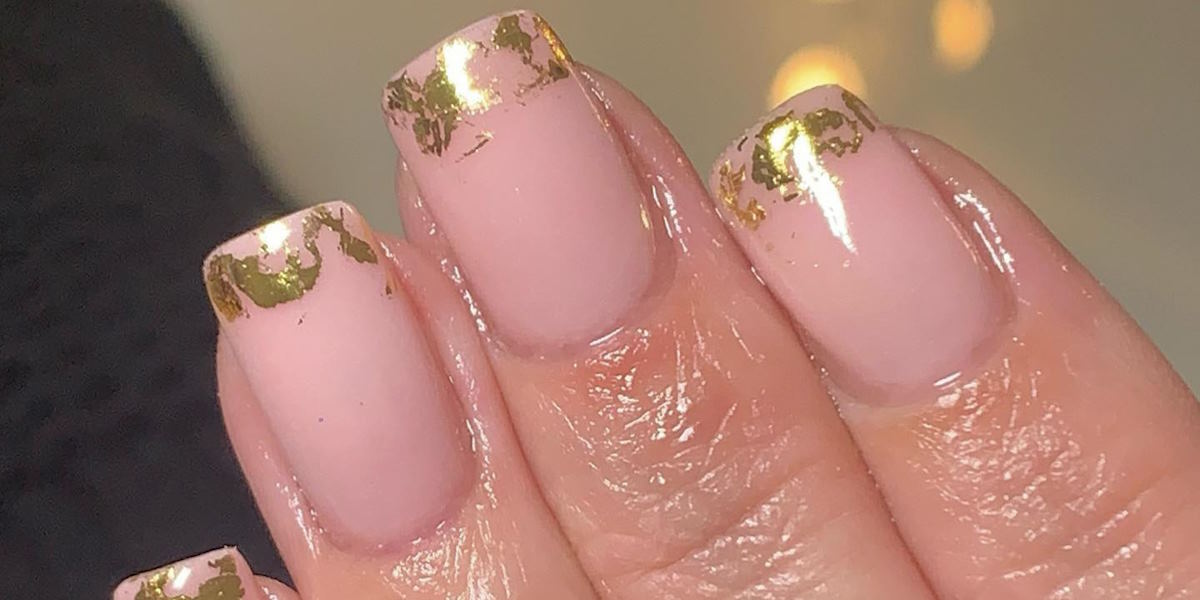
One of the best things about nail foils is their versatility. Don’t be afraid to experiment! Mix different foil colors or patterns to create a unique design that truly reflects your style. You can even layer foils over nail polish or other nail art techniques to create a stunning effect that stands out.
Avoiding Common Mistakes
Even the best nail artists make mistakes, but knowing what to watch out for can help you avoid them. Be cautious about applying too much adhesive; a little goes a long way. If you notice wrinkles or bubbles in the foil, gently press them down or trim any excess foil. If you make a mistake, don’t panic! Nail art is all about having fun, and you can always polish over and start again.
Caring for Foiled Nails
Once your foiled nails are complete, it’s essential to take care of them to prolong their beautiful look. Avoid soaking your hands in water for long periods, as this can weaken the adhesive. Instead, use gloves when washing dishes or cleaning. And remember to apply cuticle oil regularly to keep your nails healthy and moisturized.